

You are an amazing photographer!
I love photography and hope you can learn some good things from my tips on photography for beginners.
Professional Photography For Beginners
First thing you need to do is master the basics. Two most important things. As a beginner you can take photos on auto mode.
- Make sure the lighting is good
- Make sure what you want in the picture fits the frame
Lighting is a big one. If you’re using a cell phone for your photography you’ll notice a big difference in how good well lit photos look compared to darker scenes.
If there’s a specific spot inside or outside where you want to take a photo, quickly observe the scene with your eyes then point the camera to see how it looks on screen. Check to make sure everything fits the way you like and the zoom is okay.
Using a cell phone camera adjusting the zoom can be tricky. I try to keep it minimal. Zooming too far in will reduce the image quality and increase the risk of blurriness if your device doesn’t have image stabilization.
Focus on the Positioning
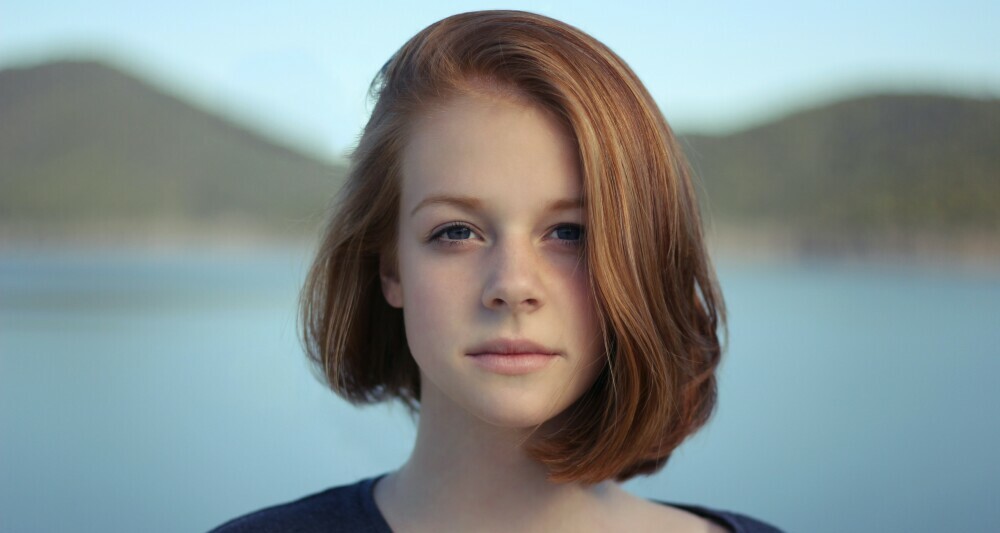
If you’re taking a picture of someone, let’s say a head shot, decide where in the frame you want the head positioned. Usually in the middle. Or if you’re adventurous, position on the side with a beautiful or interesting backdrop filling the frame.
For the head shot how much more of the person do you want to add into the frame – neck, shoulders, upper chest?
Lastly decide from which angle you want to snap the picture and take it.
If you’re taking a scenic photo, is there a specific object you want to focus on?

Scenic shots are great because there are multiple angles you can use and different focus points visible to take great shots.
Now Let’s Talk Lighting
Lighting in photography is very important. The best source you have is natural light. Whether it’s soft shadows on a cloudy day or the golden hue just before sunset, the way light plays on your subject can make all the difference.
Outdoor pictures on a sunny day can provide the best light depending on where the sun is positioned. If the sun is directly above or behind you and lights up the frame very nicely you have the perfect shot. Aiming the camera towards the sun will message up the color detail of the image as per the image below.

When taking pictures indoors if the natural lighting isn’t good, place additional lights to make the lighting perfect.
You may see model shots taken by photographers which look absolutely perfect without any shadows. There’s usually a light pointing towards the model to brighten the image which would leave shadows behind the model.
To eliminate the shadows additional lights are placed behind them both on the far left and right pointing towards them. This helps create the right amount of light in all directions keeping the object well lit and eliminating any shadows from appearing.
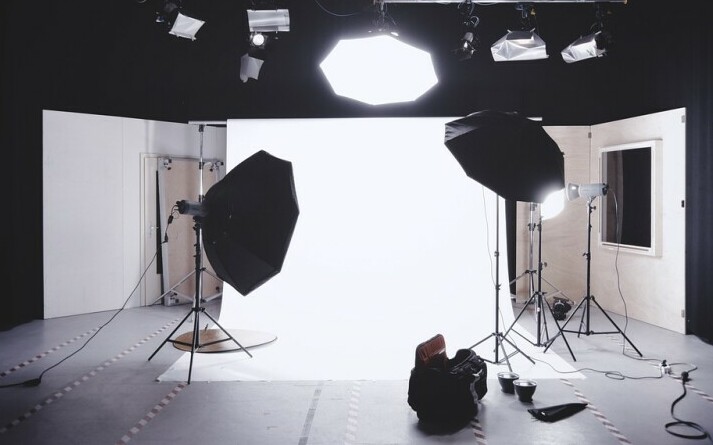
You can play around with the positioning of your lights to get a feel of what works best for your photos.
Using Manual Settings On Your Camera
Next let’s talk about the exposure triangle: ISO, shutter speed, and aperture. Don’t worry too much about memorizing technical definitions. What matters is understanding how these three elements work together to affect the brightness, overall sharpness and depth of your photos.
ISO refers to sensitivity to light. Controls the amount of light the camera lets in. The brighter the shot-sunny day for example, you’d use a lower ISO like ISO 100. The darker the shot- night time shot, you would use a higher ISO like ISO 1600.
Shutter speed refers to the speed the shutter on the camera closes. Fast shutter speed creates short exposure-less light entering the camera. Slow shutter speed creates longer exposure-more light entering the camera.
Aperture is the size of opening in your camera lens. The bigger the opening the more light enters the camera and hits the camera sensor.
Choosing the Right Equipment
DSLRs offer a wide range of lenses and can be less expensive, while mirrorless cameras are typically lighter and more compact.
‘Your camera takes the picture, but the lens makes the image.’
Focal length affects the composition and mood of your photographs. For beginners, a standard zoom lens, like an 18-55mm, is a versatile choice that can handle a variety of shooting scenarios. As you grow, you might consider prime lenses, known for their sharpness and faster aperture speeds.
Let’s not forget a sturdy tripod, reliable camera bag, and quality memory cards are just the start. Filters, external flashes, and remote shutters can also open up new possibilities in how you capture images. Each of these tools serves a unique purpose, and you’ll want to choose something that resonates with you and your style of photography.
One important thing to remember is your camera is an investment. You’re going to want to protect it by using lens caps, keeping your equipment clean, and storing it properly. Don’t worry too much about the occasional scratch or wear. It won’t ruin your photos. Just keep your gear in good working condition so it will be ready to go whenever you need.
Develop Your Own Style
I’m going to uncover why it’s essential to look at other photographers’ work. Not for comparison, but as a treasure trove of inspiration. Check out their landscape, portrait, and street photography. Use that to help you discover what works for you.
Also learning the basics of editing can help transform your images.
Choose something that resonates with you when building a collection of your work; this isn’t just about showcasing, it’s also about self-expression.
Don’t focus too much on perfection. It’s the unique, imperfect shots that often tell the most interesting stories.
Always be on the lookout for potentially great photographs. If you see a scene which is beautiful, interesting or unique in your own way, think of ways you can capture it on camera.
Thanks for reading my tips on photography for beginners. I hope you were able to pickup a few good tips you can start using right away to produce some beautiful photography!